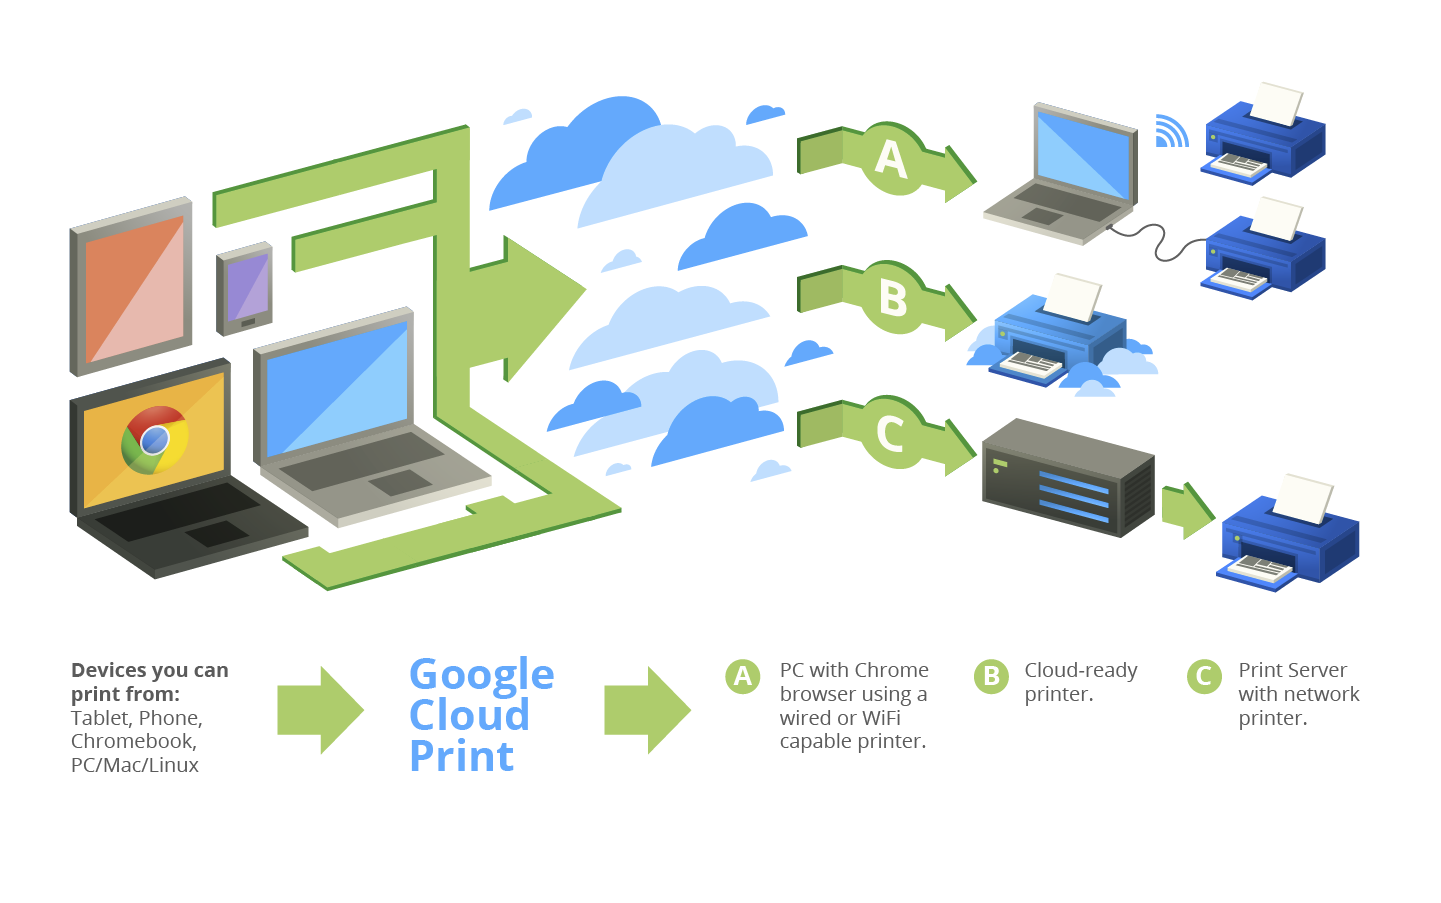
Ubuntu 18.04 CUPS + Google Cloud Print

EDIT:
In 2020 Google pulled the plug on Google Cloud Print and with it much functionality for larger business, school and enterprise copiers and printers. Please see the recent blog post about one feature recently added to CUPS on Chrome "Input Tray" paper selection.
This is an alternative tutorial to Google's officially maintained Google Cloud Print Connector. This tutorial does not require Chromium to be installed on the Ubuntu computer. This could also be done in a very similar manner on Rasbian, Raspberry PI for a very low profile and low energy print server. My tutorial was for Kyocera's new printers 2019 series of TaskAlfas which have Google Cloud Printing built in but are still lacking some functionality. This setup allowed us to use the PPD's provided by Kyocera in order to get all the functions available under the More Settings -> Advanced Settings dialog.
Setup Cups
By default Ubuntu 18.04 has CUPS version 2.2.7 installed. It also had a daemon which runs in the background and searches for new printers on the network and automatically adds them (cups-browsed). I don't want every printer on my network to automatically show up and get shared to me so I wanted to disable cups-browse. All mentioned commands here are performed under the admin user and require the ability to run sudo:
- Disable cups-browsed by typing:
sudo systemctl stop cups-browsed

sudo systemctl disable cups-browsed - Open the cups interface in Firefox and delete all the printers:
http://localhost:631
- Manually add the Kyocera printers in the CUPS web interface mentioned above using their respective IP addresses and AppSocket connection to port 9100:
Click Add Printer and Classes, next click Add Printer button, it'll prompt you to login with the administrative credentials (this will not work on Chromium) Next from other network printers choose Appsocket HP/Jetdirect.
After this specify the IP for the local printer (ie socket://192.168.0.50:9100) hit continue and name the printer and leave the shared printer box unchecked.
Using the downloaded PPDs from this URL: https://abtyes-my.sharepoint.com/:f:/p/thomasj/En0bRPKoWsBDmcg0n_cAfF0BWfQGiyfQIO9YJBSrgAPDD
Next to provide a PPD click browse and choose the PPD and then hit Add Printer. - Now if the printers you want to show up as Google Cloud Printers are installed and you have tested printing to them from Ubuntu and they work, move on to installing cloudprint
Setup cloudprint & cloudprint-service
- Ensure your apt packages are up to date by running the following commands:
sudo apt update

sudo apt upgrade - Install cloudprint and cloudprint-service with this command (at time of writing the working version was at 0.14-9):
sudo apt install cloudprint cloudprint-service
- Now authenticate the cloudprint application by running the following command (this will create a file with authentication info in it):
sudo /usr/sbin/cloudprintd -c -a /var/lib/cloudprintd/authfile.json - The command should create a link in the command line:
Simply open it in your browser
Login with the google account that you want to share your printers from
If successful, back at the command line you should see a notice that says "Printer claimed by..." and then it will list your email address - Since you installed the cloudprint-service, next time you boot systemd (systemctl) should already load the cloudprintd.service automatically, you may test this process with these commands:
sudo systemctl daemon-reload

sudo systemctl restart cloudprintd.service

sudo systemctl status cloudprintd.service - Get on a Chrome browser on any computer and try and print now. If this works you should be able to go to Google Cloud Print and share the printers with anyone with a google account.
NOTE: If you need to change anything in the initd daemon you can find it here - /lib/systemd/system/cloudprintd.service
With the above instructions everything should run under the root user with the authfile.json specified in the -c credentials command. The first time I tried to get this setup I ran cloudprint -c from the command line without sudo so it was setup and authenticated under the admin(control) user I was logged into. This made it so I had to go in and remove the path to the authfile.json and specify that my daemon service was being run by the admin (control) user and group. I don't think this was the easiest way to do it.
Configuring the Default Options for the 3553ci
Options Installed (tab)
- Paper Feeder (3,4) = checked
- Inner Finisher = checked
- Printer Hard Drive = checked
General Settings (tab)
- Media Size = Letter
- Media Type = Plain
- Media Source = Cassette 3
Configuring the Default Options for the 5053ci:
Options Installed (tab):
- Paper Feeder (3,4) = checked
- 1000 Sheet Finisher = checked
- Printer Hard Disk = checked
General (tab):
- Media Size = Letter
- Media Source = Cassette 3
- Media Type = Plain
Important
When sharing printers only the owners of the group that you're sharing with can accept the printer invitation for that group. If you are already an owner of a group and you share a printer to that group, it should automatically get added.
If printing from the Bypass/MP Tray, the copier should prompt you for a media type when you first insert the paper/labels/cardstock in the tray. Be sure the same media type you selected on the copier when adding it to the tray matches media type in your print settings. ie plain, cardstock, letter ect.. If not the copier will not print or perhaps throw an error and if it does work, the toner will not bond correctly to the paper.